Chocolate Pound Cake Recipe: A Decadent Delight for Every Occasion
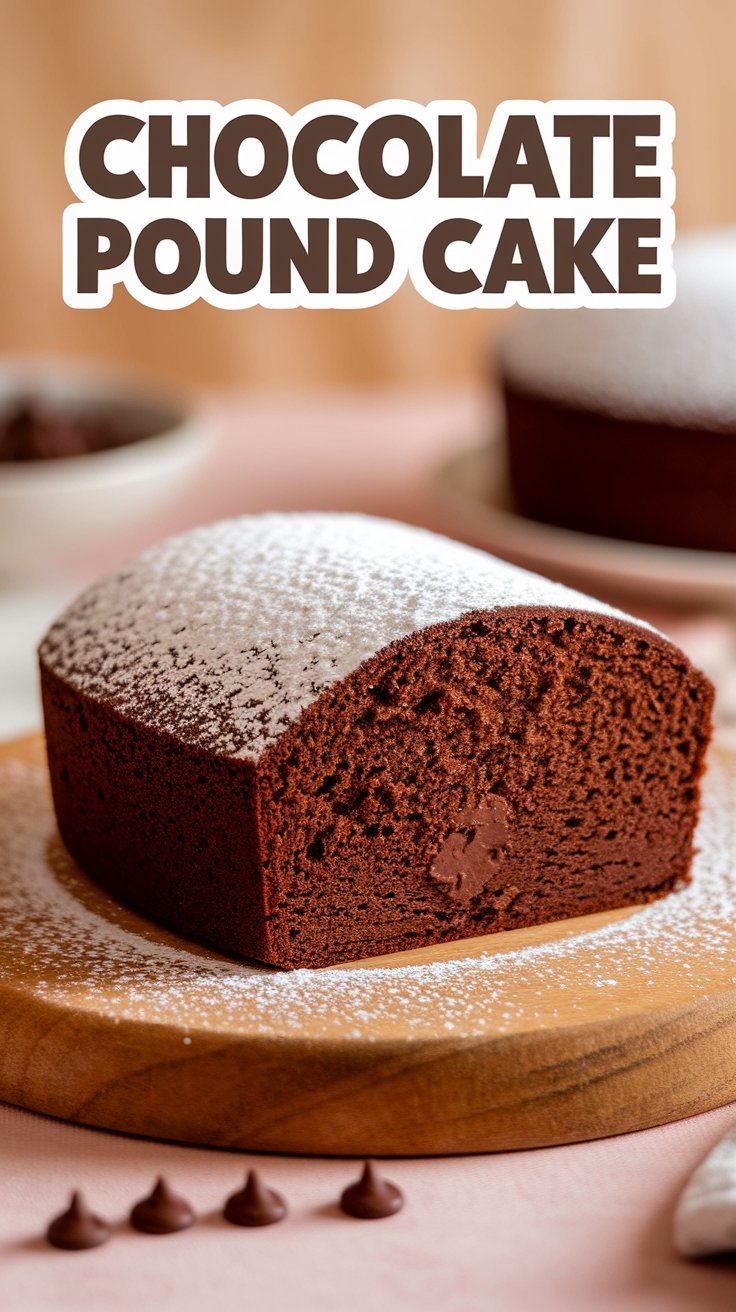
There’s something undeniably magical about a classic chocolate pound cake. Its rich velvety texture deep cocoa flavor and buttery crumb make it a timeless treat that never fails to impress. Whether you’re baking for a special occasion or simply indulging in a sweet craving this recipe is your ticket to dessert heaven.
I’ve been baking this cake for years tweaking and perfecting it along the way. Today I’m sharing my tried-and-true recipe along with some pro tips to ensure your cake turns out flawless every time. So grab your apron preheat your oven and let’s dive into the world of chocolatey goodness!
Ingredients You’ll Need
Before we get started let’s gather our ingredients. Trust me using high-quality components makes all the difference in baking. Here’s what you’ll need:
- 1 ½ cups (3 sticks) unsalted butter softened (room temperature is key!)
- 3 cups granulated sugar (yes it’s a pound cake after all!)
- 5 large eggs at room temperature
- 1 teaspoon pure vanilla extract (skip the imitation stuff!)
- 1 cup whole milk room temperature
- 3 cups all-purpose flour sifted (no lumps allowed!)
- 1 cup unsweetened cocoa powder sifted (go for the good stuff!)
- ½ teaspoon baking powder
- ½ teaspoon salt
Step-by-Step Instructions
Step 1: Prep Your Pan
Start by preheating your oven to 325°F (165°C). This lower temperature ensures the cake bakes evenly without drying out. Grease and flour a 10-inch Bundt pan or a classic loaf pan. Don’t skimp on this step—nothing’s worse than a cake that sticks!
Pro Tip: For extra insurance use a baking spray with flour. It’s a game-changer!
Step 2: Cream the Butter and Sugar
In a large mixing bowl beat the softened butter and sugar together until the mixture is light and fluffy. This should take about 5-7 minutes with a stand mixer or hand mixer. Don’t rush this step—it’s crucial for creating that tender crumb.
Step 3: Add the Eggs and Vanilla
Add the eggs one at a time beating well after each addition. This ensures the eggs are fully incorporated and the batter stays smooth. Mix in the vanilla extract for that warm aromatic flavor.
Step 4: Combine Dry Ingredients
In a separate bowl whisk together the sifted flour cocoa powder baking powder and salt. Sifting is non-negotiable here—it prevents clumps and ensures a silky texture.
Step 5: Alternate Wet and Dry Ingredients
With the mixer on low speed add the dry ingredients to the butter mixture in three parts alternating with the milk. Start and end with the dry ingredients. Mix just until combined—overmixing can lead to a dense cake.
Step 6: Bake to Perfection
Pour the batter into your prepared pan and smooth the top with a spatula. Bake for 60-75 minutes or until a toothpick inserted into the center comes out clean.
Pro Tip: If the top starts to brown too quickly tent it with aluminum foil halfway through baking.
Step 7: Cool and Serve
Let the cake cool in the pan for about 15 minutes then invert it onto a wire rack to cool completely. This waiting period is tough but it’s worth it—slicing into a warm cake can cause it to crumble.
Serving Suggestions
This chocolate pound cake is delicious on its own but why stop there? Here are a few ways to elevate it:
- Dust with powdered sugar for a simple elegant finish.
- Drizzle with chocolate ganache for an extra indulgent touch.
- Serve with a scoop of vanilla ice cream or a dollop of whipped cream.
- Pair with fresh berries for a pop of color and freshness.
Storing Your Cake
If by some miracle you have leftovers store the cake in an airtight container at room temperature for up to 3 days. For longer storage wrap it tightly in plastic wrap and freeze for up to 3 months. Just thaw at room temperature when you’re ready to enjoy it again.
Final Thoughts
Baking a chocolate pound cake is more than just following a recipe—it’s an act of love. The aroma that fills your kitchen the anticipation as it bakes and the joy of that first bite are all part of the experience.
So whether you’re a seasoned baker or a newbie in the kitchen this recipe is your chance to create something truly special. Trust the process embrace the imperfections and most importantly savor every bite.

