Festive Oreo Icebox Cake Recipe
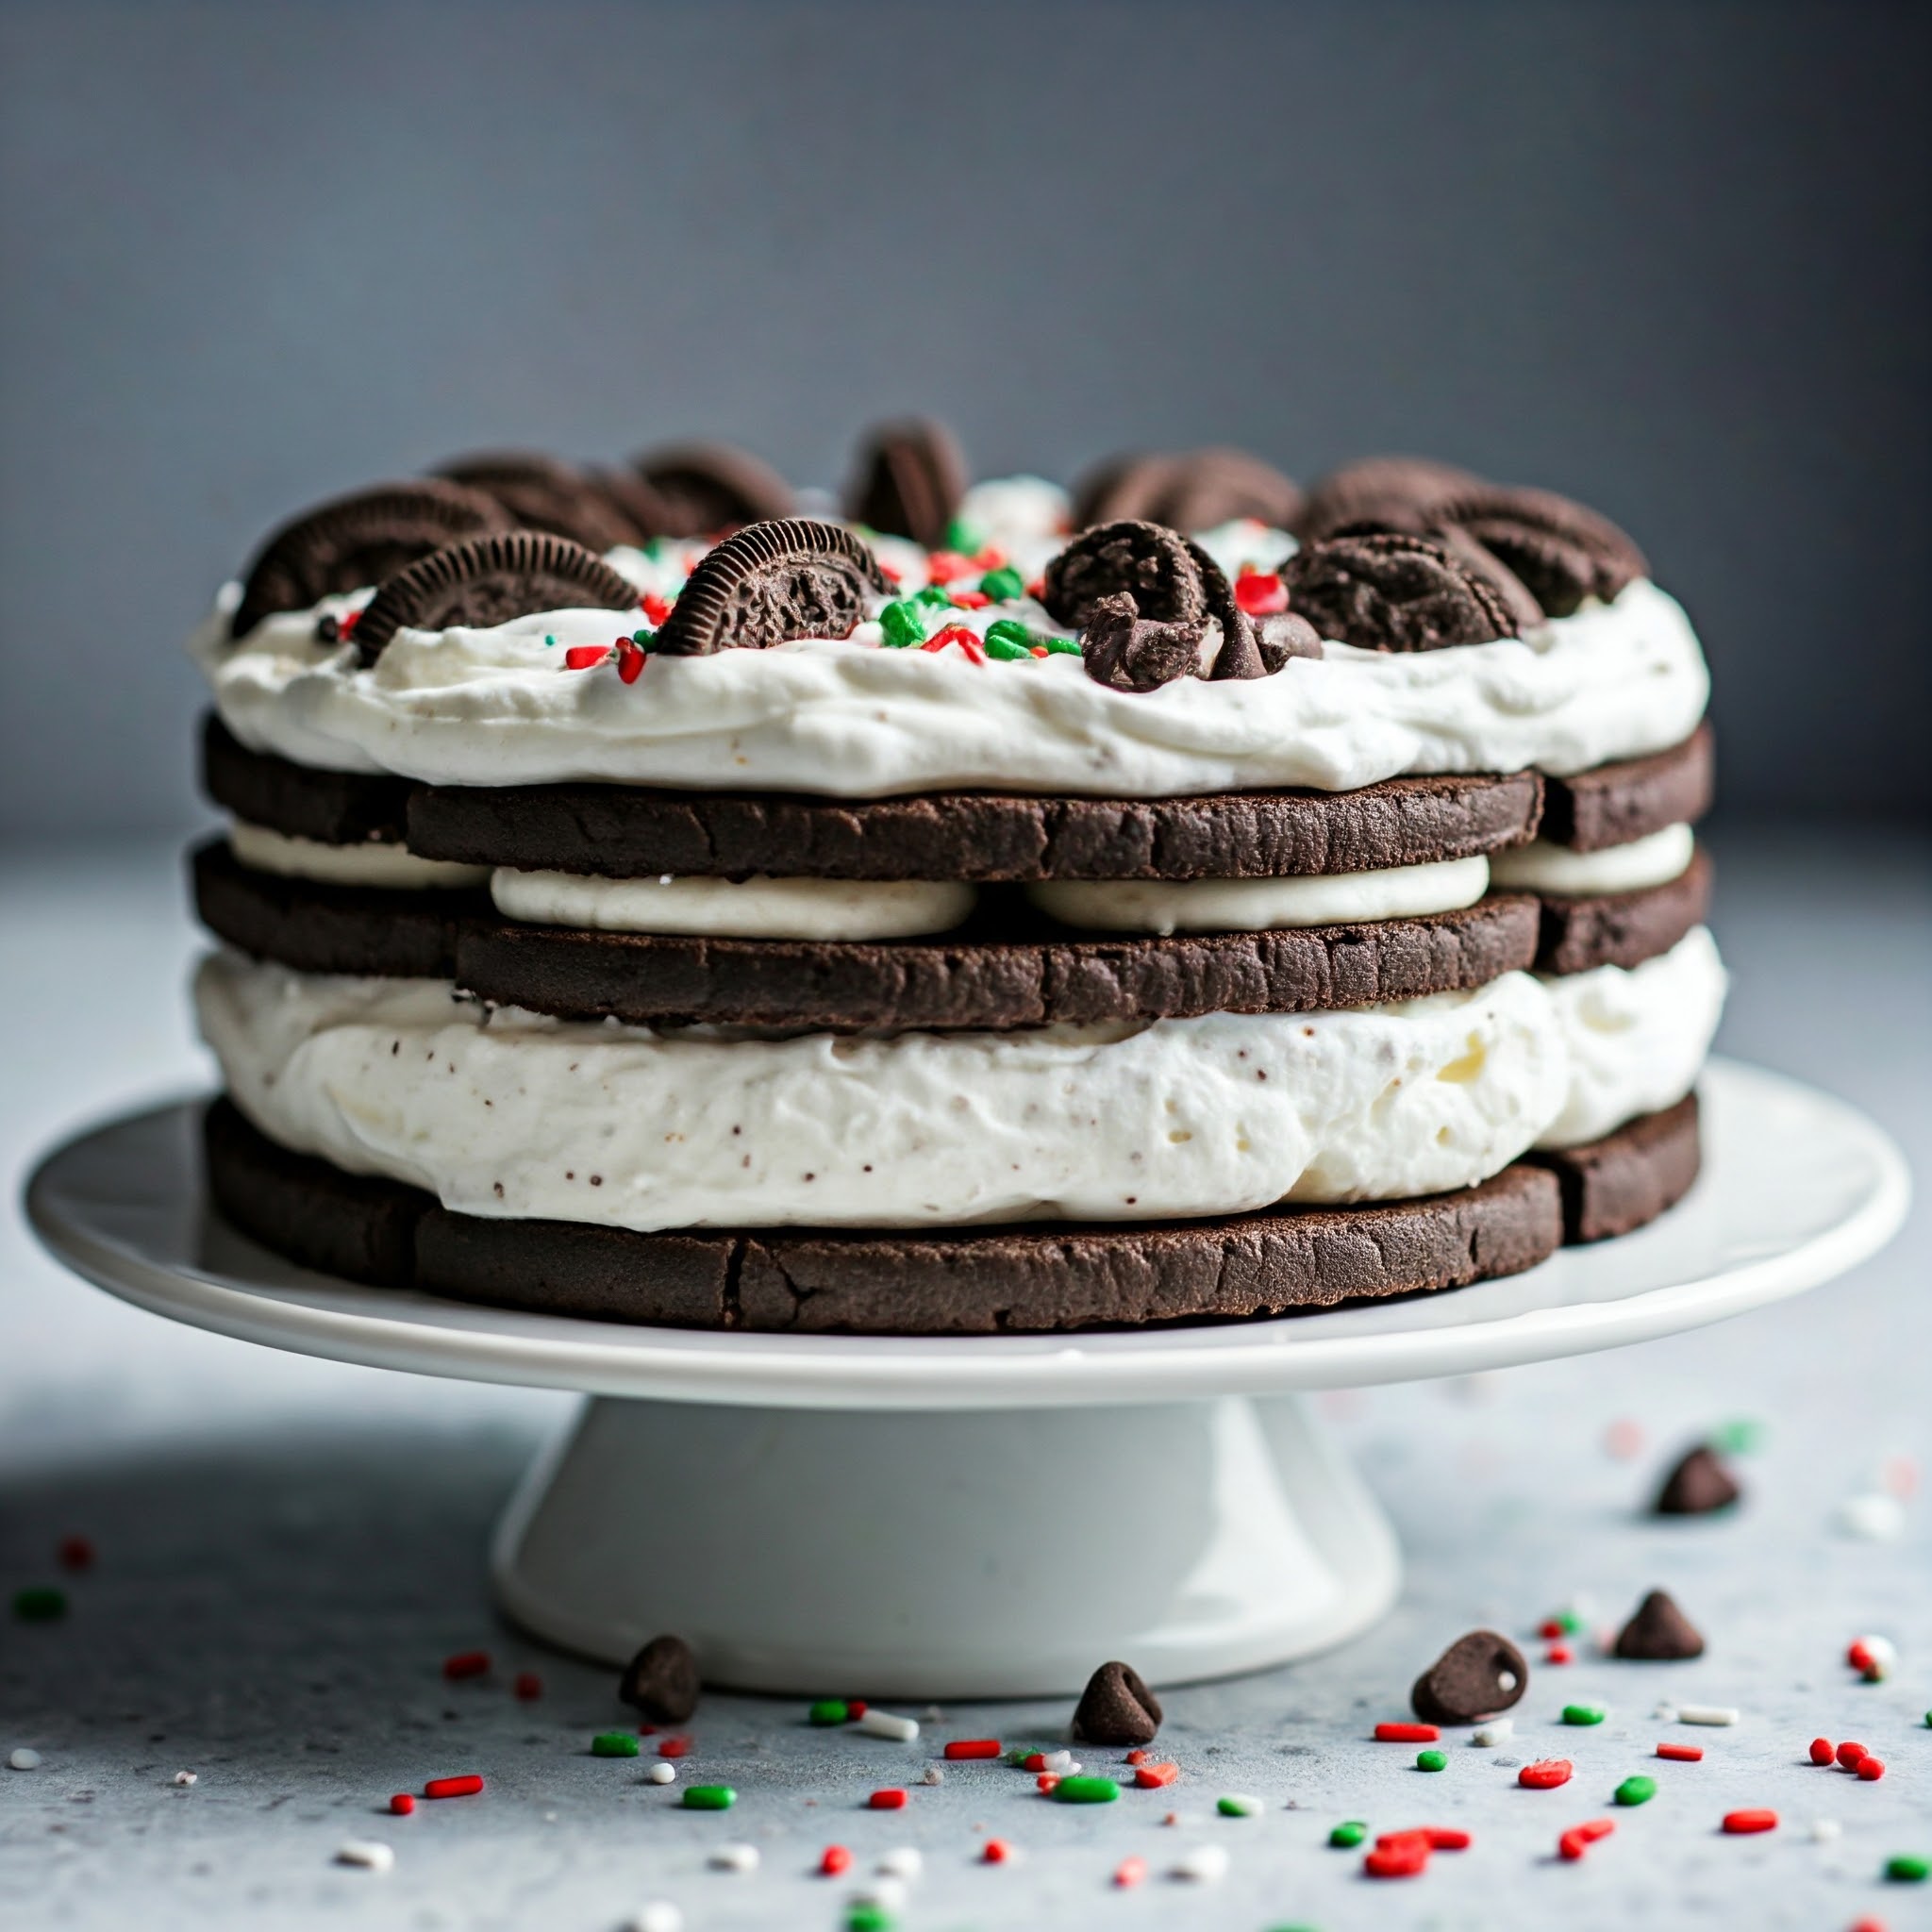
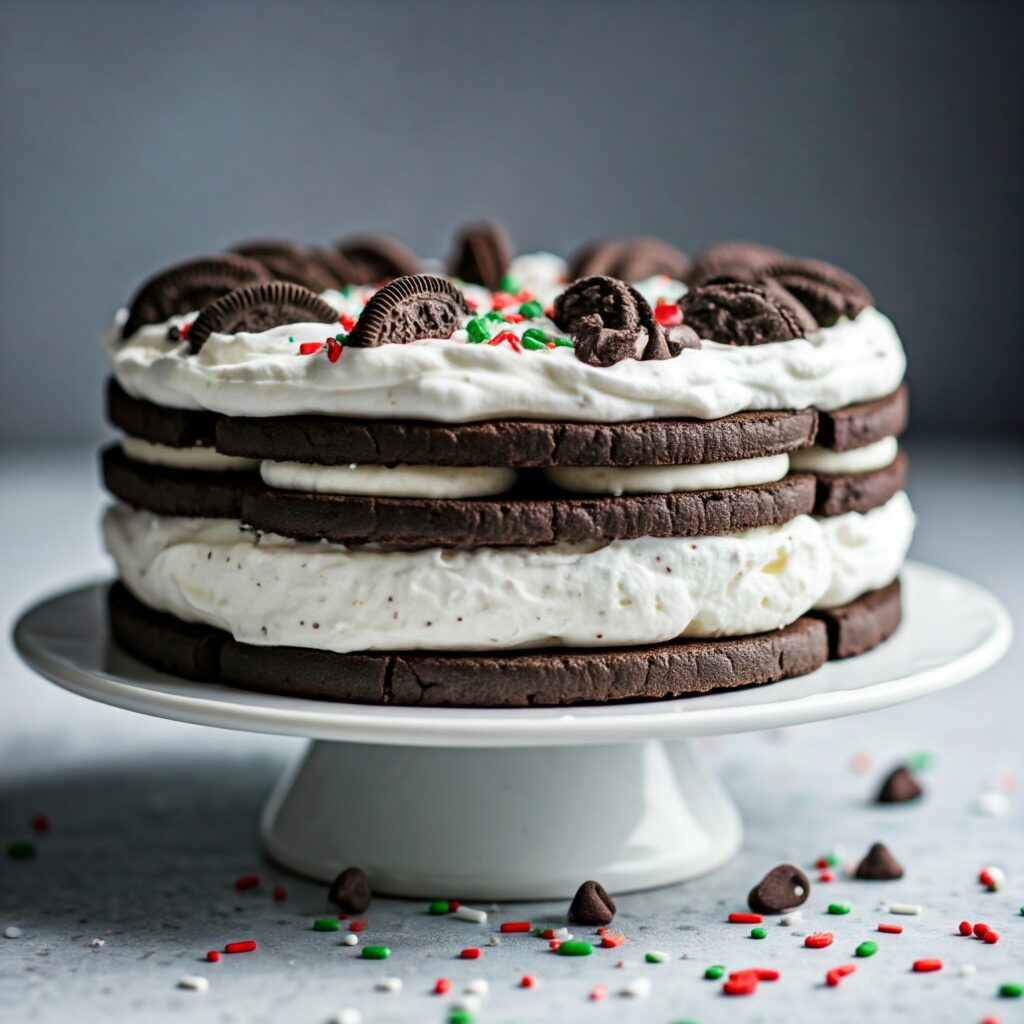
Looking for a show-stopping dessert that’s easy to make and perfect for any celebration? This Festive Oreo Icebox Cake is just what you need! With layers of creamy whipped topping and crunchy Oreo cookies this dessert will surely delight everyone at your next gathering. Let’s dive into the recipe!
Ingredients You’ll Need
To make this simple yet decadent dessert you’ll need the following ingredients:
- 3 cups heavy whipping cream
- 1/4 cup powdered sugar
- 1 teaspoon vanilla extract
- 1 package (14.3 oz) Oreo cookies
- 1/2 cup milk (for dipping the Oreos)
- 1/2 cup chocolate chips (optional for garnish)
- Festive sprinkles (optional for a fun seasonal touch)
Pro Tip:
For the fluffiest whipped cream chill your mixing bowl and beaters for at least 15 minutes before whipping the cream. This will help it whip faster and hold its shape.
Instructions
Step 1: Whip the Cream
- In a large mixing bowl combine the heavy whipping cream powdered sugar and vanilla extract.
- Using a hand mixer or stand mixer whip the cream on medium speed until soft peaks form. This should take about 3-5 minutes.
- Increase speed to high and whip until stiff peaks form (the cream should hold its shape and not fall when lifted).
Step 2: Prepare the Oreos
- Pour the milk into a shallow bowl.
- Quickly dip each Oreo cookie into the milk (don’t let it soak) and line them up in a single layer at the bottom of your chosen pan (a 9×13-inch baking dish works great).Pro Tip: If you prefer a more intense chocolate flavor you can dip the Oreos in coffee instead of milk!
Step 3: Layer the Cake
- Spread a generous layer of whipped cream over the dipped Oreos smoothing it out to cover completely.
- Add another layer of dipped Oreos on top of the whipped cream followed by another layer of whipped cream.
- Repeat this process until you run out of ingredients making sure the top layer is a nice thick spread of whipped cream.
Step 4: Chill and Set
- Cover the pan with plastic wrap and refrigerate for at least 4 hours or preferably overnight. This allows the cake to set and for the flavors to meld together.
Step 5: Garnish and Serve
- Before serving garnish with chocolate chips crushed Oreos and festive sprinkles for a fun touch.Pro Tip: You can also drizzle melted chocolate or caramel over the top for extra sweetness and decoration.
Why This Oreo Icebox Cake is Perfect for Any Occasion
This easy-to-make dessert doesn’t require baking making it ideal for busy holiday seasons or when you need a quick treat for guests. The combination of creamy crunchy and sweet makes it a crowd favorite at any party or celebration!
Pro Tip:
For an extra festive look use holiday-themed Oreos (like mint-flavored or red velvet) to make the cake even more seasonal.
Conclusion
This Festive Oreo Icebox Cake is a guaranteed hit for your next celebration. With simple ingredients and minimal prep time you’ll have a dessert that looks as good as it tastes. Enjoy making it and don’t forget to share it with loved ones!

