Delicious Gluten-Free Pie Recipe: A Perfect Dessert for Everyone
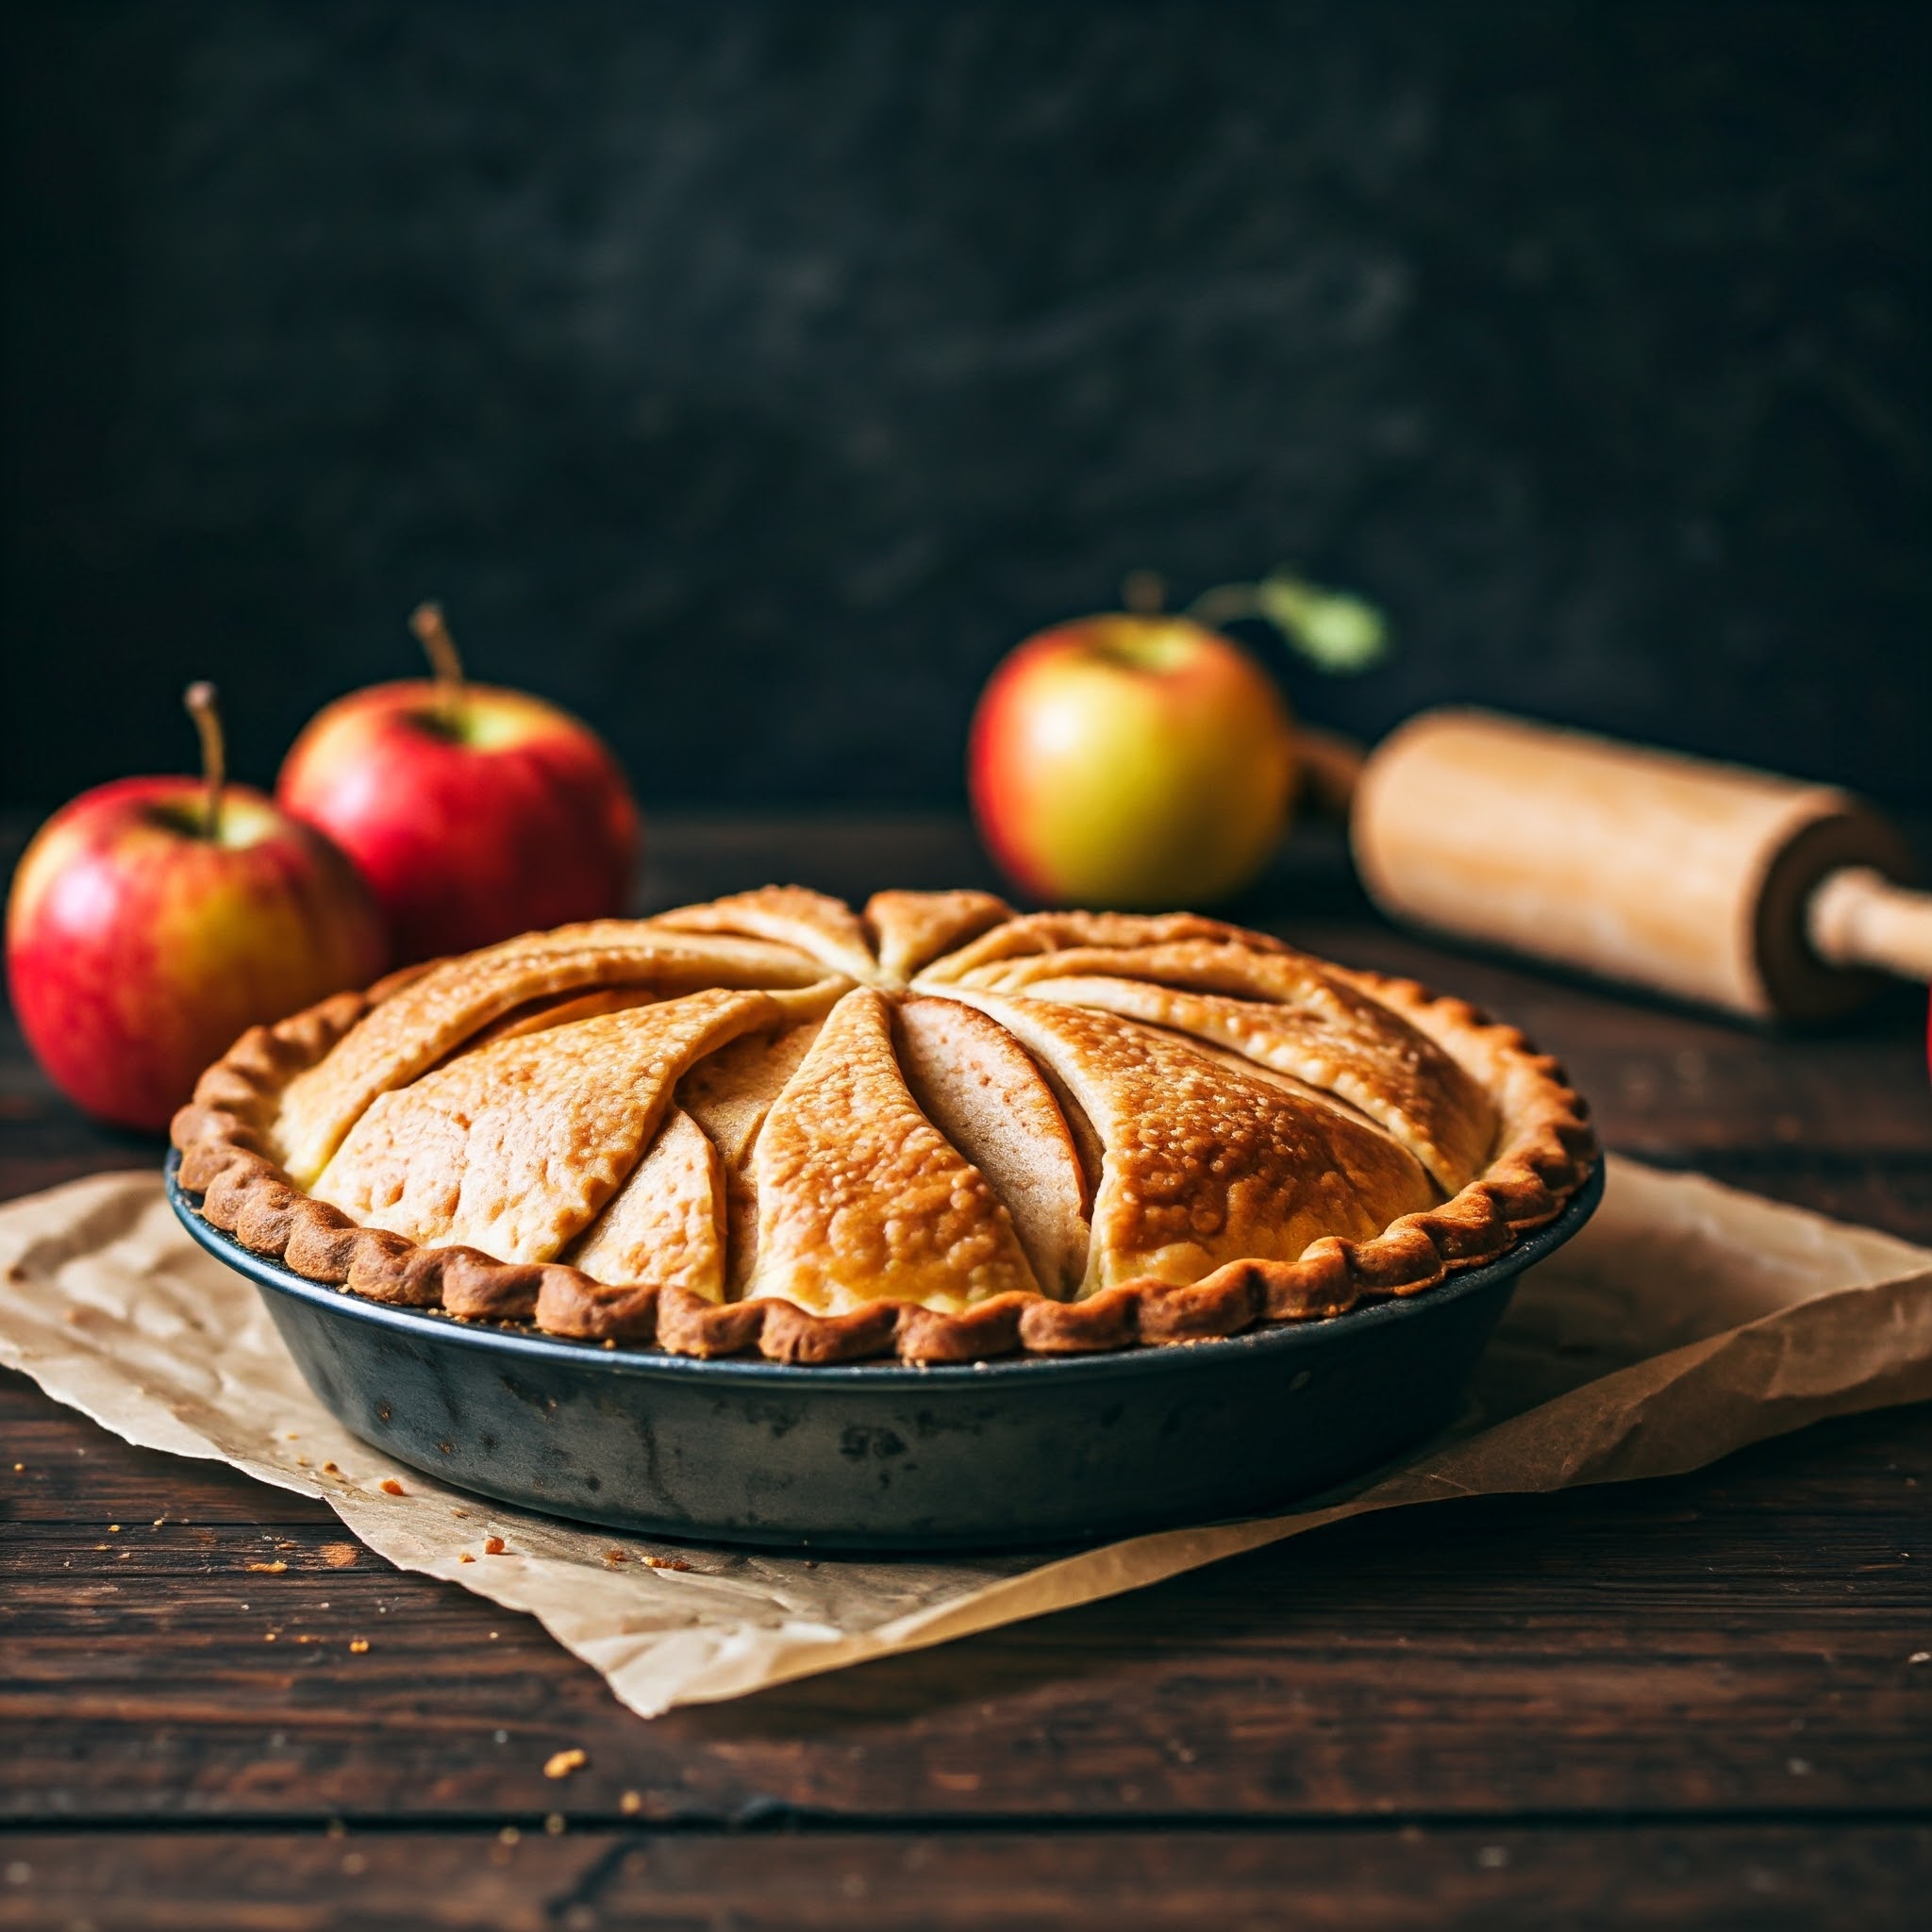
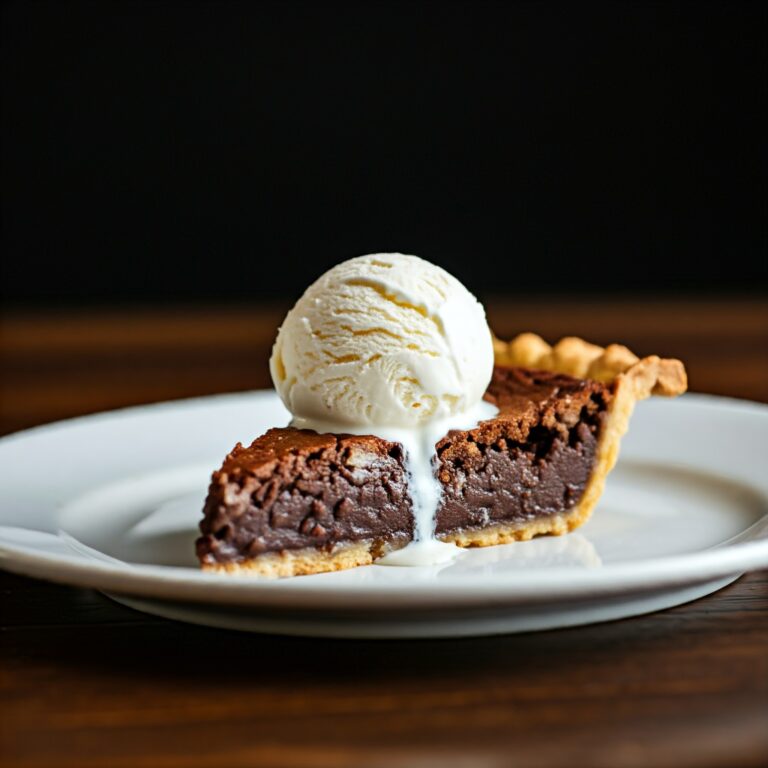
If you’re following a gluten-free lifestyle or simply want to try something new this gluten-free pie recipe will be your go-to treat for any occasion. Whether you’re making a traditional fruit pie or a creamy custard pie this recipe ensures that everyone can indulge without worry.
Ingredients for the Gluten-Free Pie Crust
Creating a gluten-free pie crust can be easy when you have the right ingredients. Here’s what you’ll need:
- 1 1/2 cups gluten-free all-purpose flour (make sure it contains xanthan gum or add 1/2 tsp separately)
- 1/4 cup sugar (for a slightly sweet crust)
- 1/4 teaspoon salt
- 1/2 cup cold unsalted butter (cut into small cubes)
- 1 large egg (for binding the dough)
- 2-4 tablespoons cold water (to help bring the dough together)
Pro Tip: Always use cold butter and water. This will keep the dough flaky and tender. If you don’t have xanthan gum in your flour add it separately to give the dough structure.
Instructions for Making the Gluten-Free Pie Crust
- Mix the Dry Ingredients: In a large bowl combine the gluten-free flour sugar and salt.
- Cut in the Butter: Add the cold butter cubes and use a pastry cutter or your hands to blend it into the dry ingredients until the mixture resembles coarse crumbs.
- Add the Egg: Beat the egg and add it to the dough mixture stirring to combine.
- Add Water Gradually: Slowly add 2 tablespoons of cold water and mix. If the dough is still too dry add one more tablespoon at a time until the dough holds together.
- Chill the Dough: Form the dough into a ball wrap it in plastic wrap and refrigerate for at least 30 minutes. Chilling the dough will help it roll out more easily and prevent shrinking when baking.
Pro Tip: If you’re short on time you can roll the dough between two sheets of parchment paper. This prevents sticking and eliminates the need for extra flour.
Preparing the Gluten-Free Pie Filling
Now that the crust is ready it’s time to make the pie filling! This recipe can be adapted for many different types of pie from fruity to custardy. Here’s a simple apple pie filling as an example:
- 4-5 medium apples peeled cored and sliced
- 1/2 cup sugar (or to taste)
- 1 tablespoon lemon juice
- 1/2 teaspoon cinnamon
- 1/4 teaspoon nutmeg
- 2 tablespoons cornstarch (to thicken the filling)
- 1 tablespoon butter (dotted on top of the filling for richness)
Instructions for the Apple Pie Filling:
- Preheat the Oven: Set your oven to 375°F (190°C).
- Mix the Ingredients: In a large bowl combine the apple slices sugar lemon juice cinnamon nutmeg and cornstarch. Toss everything together until the apples are evenly coated.
- Fill the Crust: Roll out your chilled pie dough and line your pie dish with it. Pour the apple filling into the crust spreading it evenly.
- Dot with Butter: Place small dots of butter over the top of the filling to help it stay moist and flavorful during baking.
- Top with Another Crust (Optional): If you’re using a top crust roll out the second portion of dough place it over the filling and trim the edges. Pinch the top and bottom crusts together then cut a few slits in the top to allow steam to escape.
- Bake: Place the pie on a baking sheet and bake for 40-45 minutes or until the crust is golden brown and the filling is bubbly.
Pro Tip: To get a beautiful golden crust brush the top of the pie with a mixture of 1 tablespoon of milk and 1 tablespoon of sugar before baking.
Gluten-Free Pie: Baking Tips and Troubleshooting
- Crust Shrinkage: Gluten-free dough can sometimes shrink during baking. To prevent this ensure the dough is well-chilled before baking and avoid overworking it.
- Soft or Runny Filling: If your pie filling turns out too runny make sure to use the proper thickening agents like cornstarch or tapioca flour. If needed bake the pie a bit longer to allow the filling to thicken.
- Storage Tips: If you have leftovers store your gluten-free pie covered in the fridge for up to 3 days. You can also freeze it for up to 3 months—just make sure it’s well-wrapped.
Conclusion
Making a gluten-free pie doesn’t have to be complicated or time-consuming. With the right ingredients and a few helpful tips you can create a delicious gluten-free pie that everyone will love. Whether you’re enjoying it with family or serving it at a special gathering this pie will surely become a favorite. Enjoy!

