Irresistible Homemade Reese’s Cups: A Healthier Tastier Treat
If you’re a fan of Reese’s Peanut Butter Cups you’re in for a treat! Making your own homemade Reese’s cups is not only fun but also allows you to control the ingredients making them healthier and even more delicious than the store-bought version. Whether you’re craving a classic peanut butter and chocolate combo or want to experiment with unique flavors this guide will walk you through everything you need to know to create these irresistible treats at home.
Why Make Homemade Reese’s Cups?
1. Healthier Ingredients: Store-bought Reese’s cups often contain preservatives and additives like TBHQ and PGPR which are used to extend shelf life and reduce costs. By making them at home you can use natural high-quality ingredients like dark chocolate natural peanut butter and maple syrup for a cleaner healthier treat.
2. Customizable Flavors: From almond butter to Nutella the possibilities are endless. You can even make them vegan or gluten-free to suit dietary preferences.
3. Fun and Easy: With just a few simple steps and minimal ingredients homemade Reese’s cups are a quick no-bake treat that’s perfect for family activities or gifting.
Ingredients You’ll Need
Here’s a basic list of ingredients for classic homemade Reese’s cups:
- Chocolate: Milk dark or white chocolate chips or melting wafers.
- Peanut Butter: Creamy or crunchy depending on your preference. Natural peanut butter works best for a healthier option.
- Sweeteners: Powdered sugar honey or maple syrup to sweeten the peanut butter filling.
- Optional Add-ins: Graham cracker crumbs almond flour or a pinch of salt for added texture and flavor.
Step-by-Step Instructions
1. Prepare the Peanut Butter Filling
- In a mixing bowl combine 1 cup peanut butter 1/4 cup powdered sugar and 1/2 teaspoon salt. Mix until smooth and creamy. For a richer flavor add 1 tablespoon of melted butter or maple syrup.
2. Melt the Chocolate
- Melt 2 cups of chocolate chips in a microwave-safe bowl stirring every 30 seconds until smooth. Alternatively use a double boiler for more control.
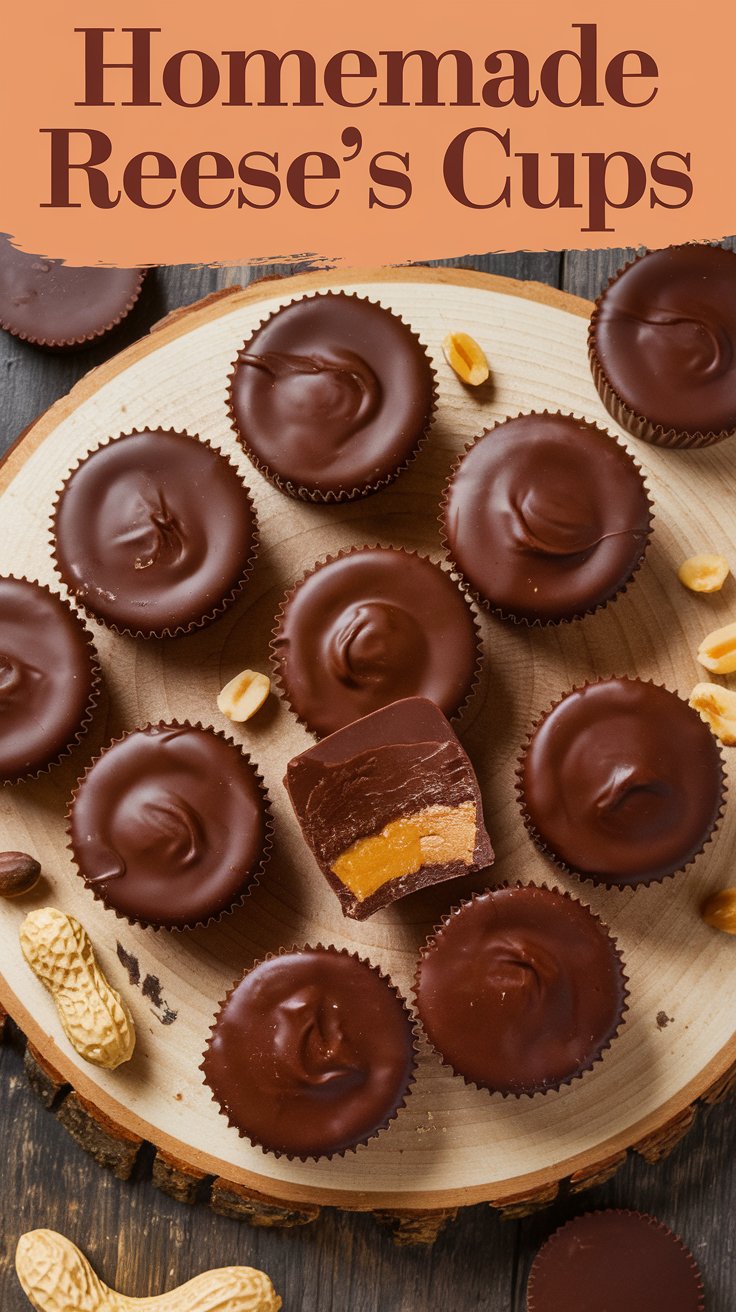
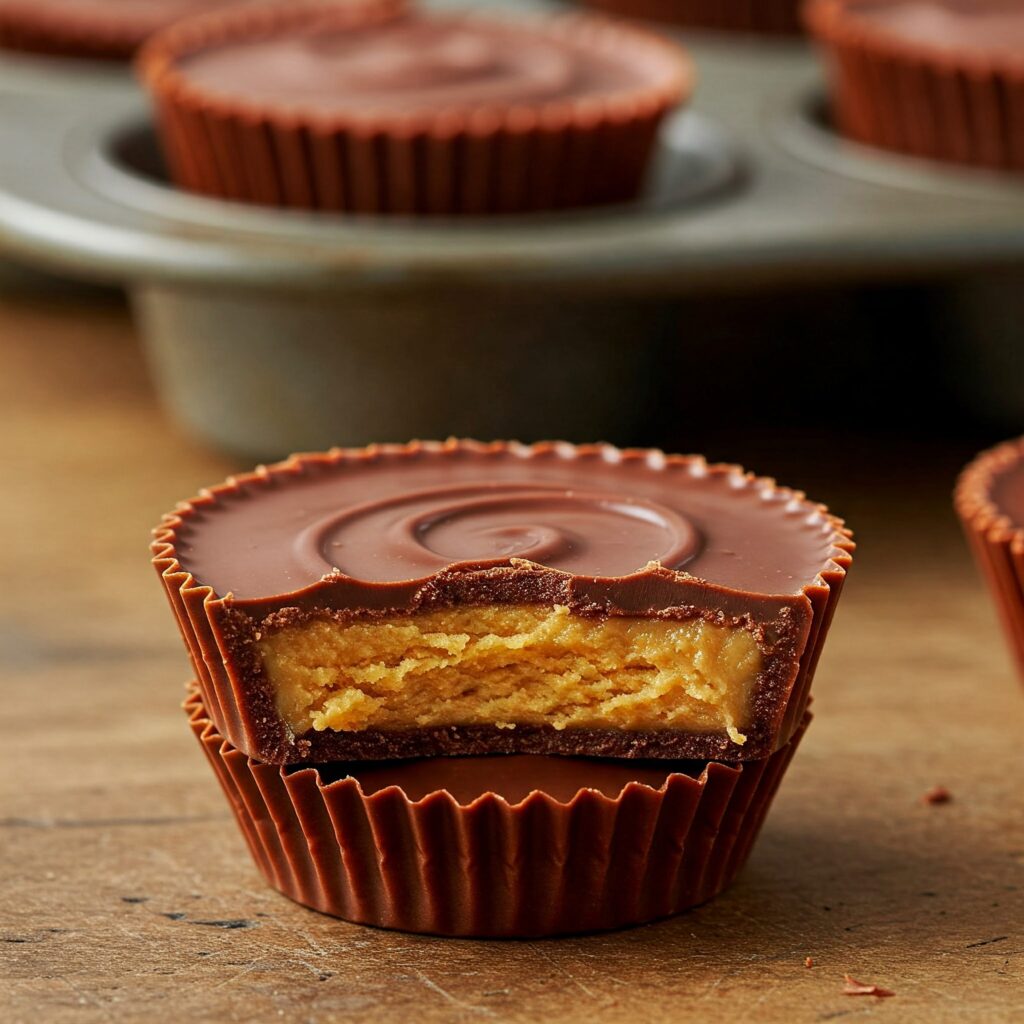
3. Assemble the Cups
- Line a muffin tin with paper or silicone liners. Spoon a small amount of melted chocolate into each liner spreading it evenly to coat the bottom and sides.
- Add a dollop of the peanut butter mixture then top with another layer of melted chocolate. Tap the tin gently to remove air bubbles and ensure a smooth finish.
4. Chill and Serve
- Refrigerate the cups for at least 1 hour until set. Once firm remove from the liners and enjoy!
Pro Tips for Perfect Reese’s Cups
- Temper the Chocolate: To prevent blooming (a whitish coating on the chocolate) gently melt the chocolate and stir continuously until smooth.
- Use Silicone Molds: These make it easier to remove the cups and create a professional-looking finish.
- Add a Pinch of Salt: A sprinkle of sea salt on top enhances the sweet and salty flavor profile.
Creative Variations
- Dark Chocolate Almond Butter Cups: Swap peanut butter for almond butter and use dark chocolate for a sophisticated twist.
- Vegan Reese’s Cups: Use dairy-free chocolate and sunflower seed butter for a plant-based version.
- S’mores Cups: Add a layer of marshmallow fluff and crushed graham crackers for a campfire-inspired treat.
Storage Tips
- Store homemade Reese’s cups in an airtight container in the refrigerator for up to 2 weeks or freeze for up to 3 months.
Final Thoughts
Homemade Reese’s cups are a delightful way to satisfy your sweet tooth while avoiding unnecessary additives. With endless customization options and a simple process they’re perfect for any occasion. So grab your ingredients and start creating your own batch of chocolatey peanut buttery goodness today!